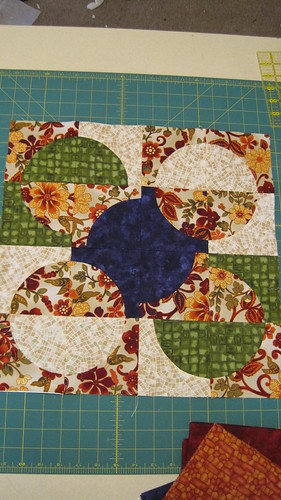
Each person was sent a cream print, two different semisolids, and lots of the floral print.
I am asking for Drunkard's Path blocks that are 16.5 inches (16 inches finished).
Here are some hints and helps for making these as I know that some people are not comfortable or familiar with doing curved piecing.
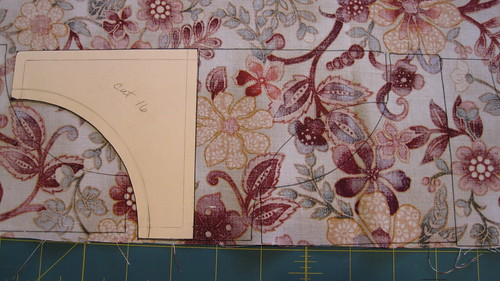
Everyone received two templates. One is a quarter circle. The other is the outer piece of the square. The templates include seam allowances. You will need to cut out 16 of each piece from the fabrics you received. The floral print is the main fabric, so please make sure you use a lot of it.
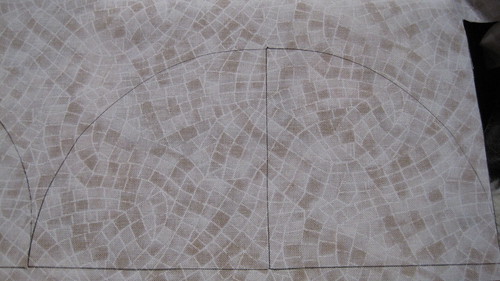
Because of the curves of these pieces, you will need to trace the templates and then cut them out with scissors instead of a rotary cutter (unless you are really good). I used a pen to trace the templates because some of the fabrics were so dark and I was going to cut on the lines anyway, so decided it didn't matter. Here is how I laid out the pieces, in order to conserve space/fabric. I think it will make it easier to make a balanced layout if you stick with even numbers of each piece per fabric.
Once you get all the pieces cut out, the fun begins! This is when you get to play with different layouts. You can lay the blocks out however you want. There are some traditional layouts, but I want to see what you can come up with. Here are some of the layouts I tried.


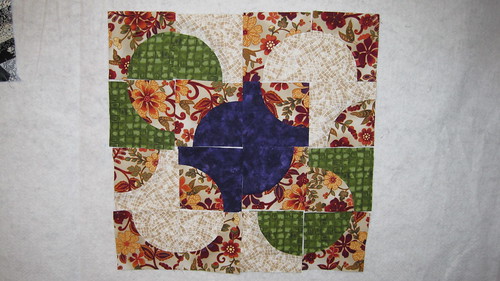
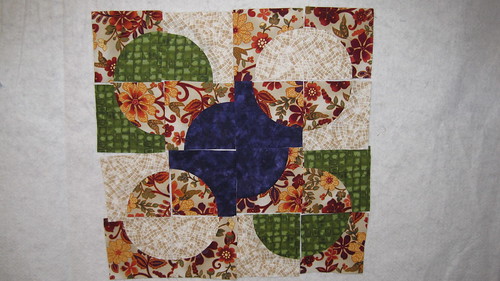

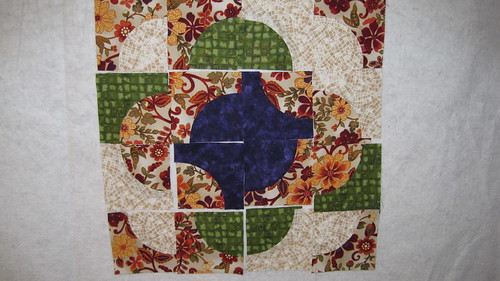
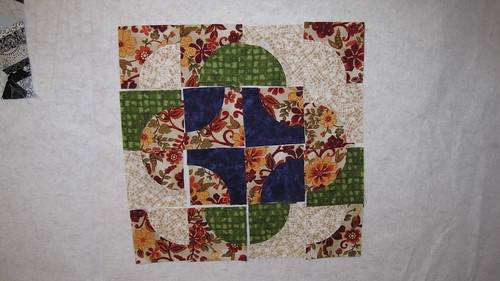
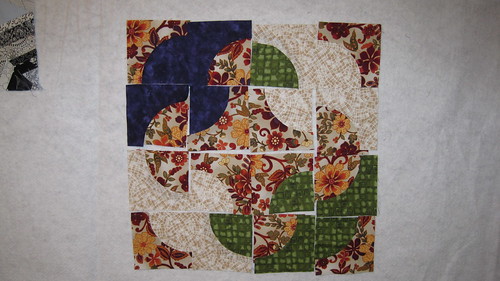
Once you have your layout picked out, it is time to start piecing. First you will want to fold each piece into fourths and press it. This makes it easier to match up the pieces evenly.
This is what the outside piece looks like when it is folded in quarters and pressed.

And this is the quarter circle once it has been folded and pressed.
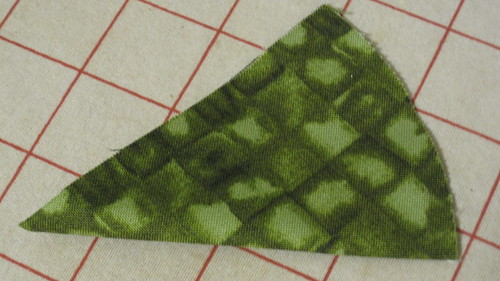
Next you line up the creases and the edges and place a pin at each location. You want the quarter circle on the bottom and the outside piece on top.
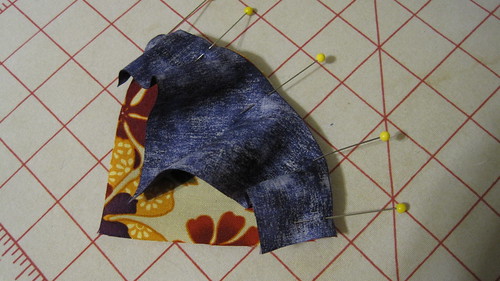
Then, place another pin between each of the pins you already have. The top piece should be a little flatter along the seam line now, with only a few small bumps.
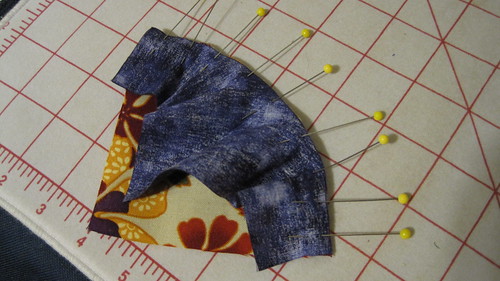
Now it is time to sew the two pieces together. Don't try to line up the edge of the fabric to your quarter inch mark ahead of the presser foot. You will be pivoting the fabric the whole time you are sewing. You want it to hit the seam allowance mark just ahead of the needle. Take your time. Sew slowly. Be grateful there are only 16 of these...
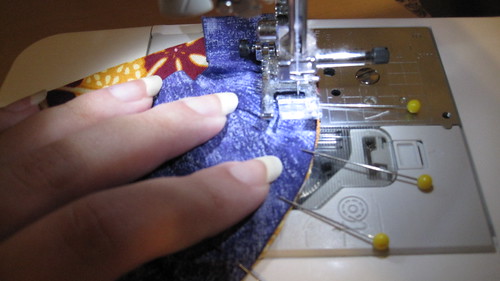
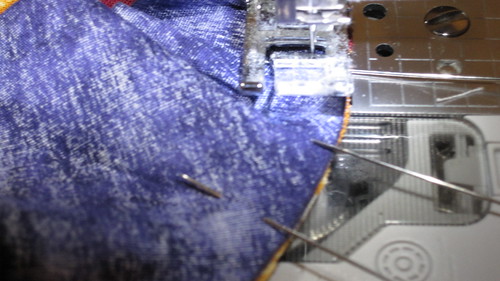
Once the pieces are sewn, press both seams toward the outside piece.

Square up each piece to 4.5 inches. The seams should fall 1 inch from the edges of the square.
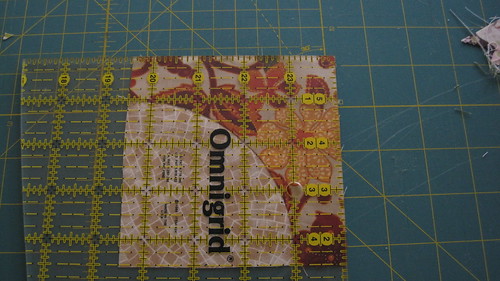
Now it is time to start piecing the squares together. Here is how I keep track of what goes with what and where while I am piecing.
First lay out your squares again.

Then, I take the second column of squares and match them right sides together with the blocks in the first column. I do this as well with the fourth and third columns. This puts all of the seams on the right hand side of each stack.

Then I stacked each column of squares from bottom to top and sewed them in this order.
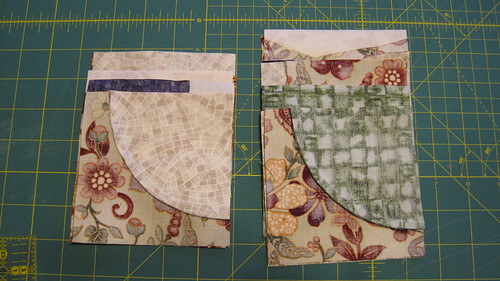
Press seams open.
Continue piecing the blocks together to make 4 4-patches. Press seams open. I find for me, that piecing into successively larger squares, instead of rows, helps me match my seams better. Of course, piece however you wish.

Then join the 4-patches into the two halves and join the halves.
Ta da; pretty block.
